
Manual RSVP approval means you review every registration before a guest gets a confirmed spot, instead of letting a system confirm people automatically. It's the right call when attendee fit matters more than filling seats fast: member-only meetups, curated panels, or pickup games with skill or safety requirements. Done well, it protects your capacity and keeps the wrong people off your list without turning into a full-time job.
TL;DR:
- Before registration opens, set capacity and deadlines, collect only necessary eligibility details, and block duplicate entries with a unique email or phone rule.
- Review pending requests daily, or twice daily for high volume events; send confirmation and calendar invitations only after approval, and remind approved guests only.
- Use the waitlist only for availability, not eligibility, and promote guests by signup time while recording each change to keep decisions fair and traceable.
- For recurring open access games, automated roster filling and waitlist promotion can replace repeated reviews; retain manual checks when skill, membership, or legal eligibility applies.
Table of Contents
- Why manual approvals matter and when to choose them
- Step-by-step workflow to set up and run manual RSVP approvals
- Best practices and copyable templates for messages, status labels, and form fields
- Troubleshooting common issues and verification steps
- Publisher perspective: how we apply these patterns to pickup sports
- How Roster reduces manual approval admin
- FAQ
- Sources
Why manual approvals matter and when to choose them
Automatic confirmation works when anyone who signs up is welcome. Manual approval exists for the opposite case: when you need to check something before granting a spot. That might be membership status, skill level, a role requirement, or simply making sure the guest count stays inside a venue limit.
The main value is quality control. A pending queue acts as a checkpoint, catching gate-crashers, mismatched skill levels, or duplicate accounts before they ever appear on your confirmed list. That's different from waitlist promotion, which is purely about availability. Manual approval judges fit; waitlist promotion just waits for a seat to open.
A few situations where manual review earns its keep, especially when you want to learn how to prevent sports injuries and stay in the game, include:
- Member-only or invite-based events where eligibility has to be verified.
- Skill-tiered pickup games where mismatched players ruin the session.
- Fundraisers or small dinners with a hard, non-negotiable headcount.
- Events with legal or age restrictions that require a quick check before confirming.
Step-by-step workflow to set up and run manual RSVP approvals
Before you open registration, lock in three things: your maximum capacity, your registration window, and the setting that turns on manual approval in whatever tool you use. Microsoft Teams, for example, lets organizers require approval for webinar registrations, routes new sign-ups into a Pending approval queue, and lets you enable a waitlist automatically once the event fills.
- Set the form fields. Collect full name, email or phone, guest count, and an eligibility tag (membership number, skill level, role). Add a uniqueness rule on email or phone so the same person can't register twice.
- Open registration with approval enabled. Every new sign-up lands as Pending, not Confirmed.
- Review on a fixed schedule. Batch-process the queue daily, or twice a day for high-volume events, rather than reacting to each sign-up as it arrives.
- Assign a status. Approve, Reject, or Waitlist. Each status should trigger its own action: Approved sends a confirmation and calendar invite, Waitlisted sends a holding message, Rejected sends a short, polite note (or nothing, depending on your policy).
- Promote from the waitlist as spots open. Use timestamp order so promotion is fair and defensible.
- Automate reminders carefully. Send reminder emails only to Approved registrants. Pending or Rejected guests should never get a "see you there" message by mistake.
Pro Tip: Keep a single source of truth for registrant status. Checking a spreadsheet and an email inbox separately is where most duplicate confirmations happen.
Best practices and copyable templates for messages, status labels, and form fields
Keep your form short. The fields that actually matter are full name, email, phone, guest count, a membership or role field if eligibility applies, and a dietary or allergy field when food is involved. Our sports RSVP form templates include copy-ready fields built for this exact setup.
Four short templates cover most of what you'll send:
- Pending acknowledgement: "Thanks for registering. We're reviewing requests and will confirm your spot within 48 hours."
- Approval confirmation: "You're confirmed. Please arrive 10 minutes early; details and directions are attached."
- Polite rejection: "We're unable to offer you a spot this time. We'll keep your info on file for future openings."
- Waitlist notice: "You're on the waitlist. We'll notify you immediately if a spot opens."
Use consistent status tags (Pending, Approved, Rejected, Waitlist) across your spreadsheet or tool so the dashboard stays searchable instead of turning into a mess of notes. Collect only what you genuinely need, and tell registrants briefly how you'll use their information: a one-line note on the form is enough.
Troubleshooting common issues and verification steps
Duplicate entries are the most common headache. Enforce a unique email or phone rule at the form level, and merge duplicates manually when someone registers twice under slightly different details.
Confirmation emails sometimes fail to deliver even after a registrant is approved. Treat delivery as a separate, retryable step from the approval decision itself, so a bounced email doesn't force someone to re-register from scratch.
When a spot opens late, promote from the waitlist by timestamp, not by convenience, and keep a record of when each promotion happened. For guests who won't use a digital form, keep a manual entry path and log them the same way you log everyone else, checking first for an existing record before creating a new one.

Publisher perspective: how we apply these patterns to pickup sports
Running manual approvals for a recurring weekly pickup game doesn't scale the way it does for a one-time curated event. We built Roster around that distinction: for leagues with real eligibility checks (skill tiers, member-only runs), manual review still makes sense, but for a standing Tuesday night game, automated roster filling and waitlist promotion saves far more time than it costs in oversight. Our no-show checklist and form templates were built from exactly this tension between control and admin time.
— Daniel
How Roster reduces manual approval admin
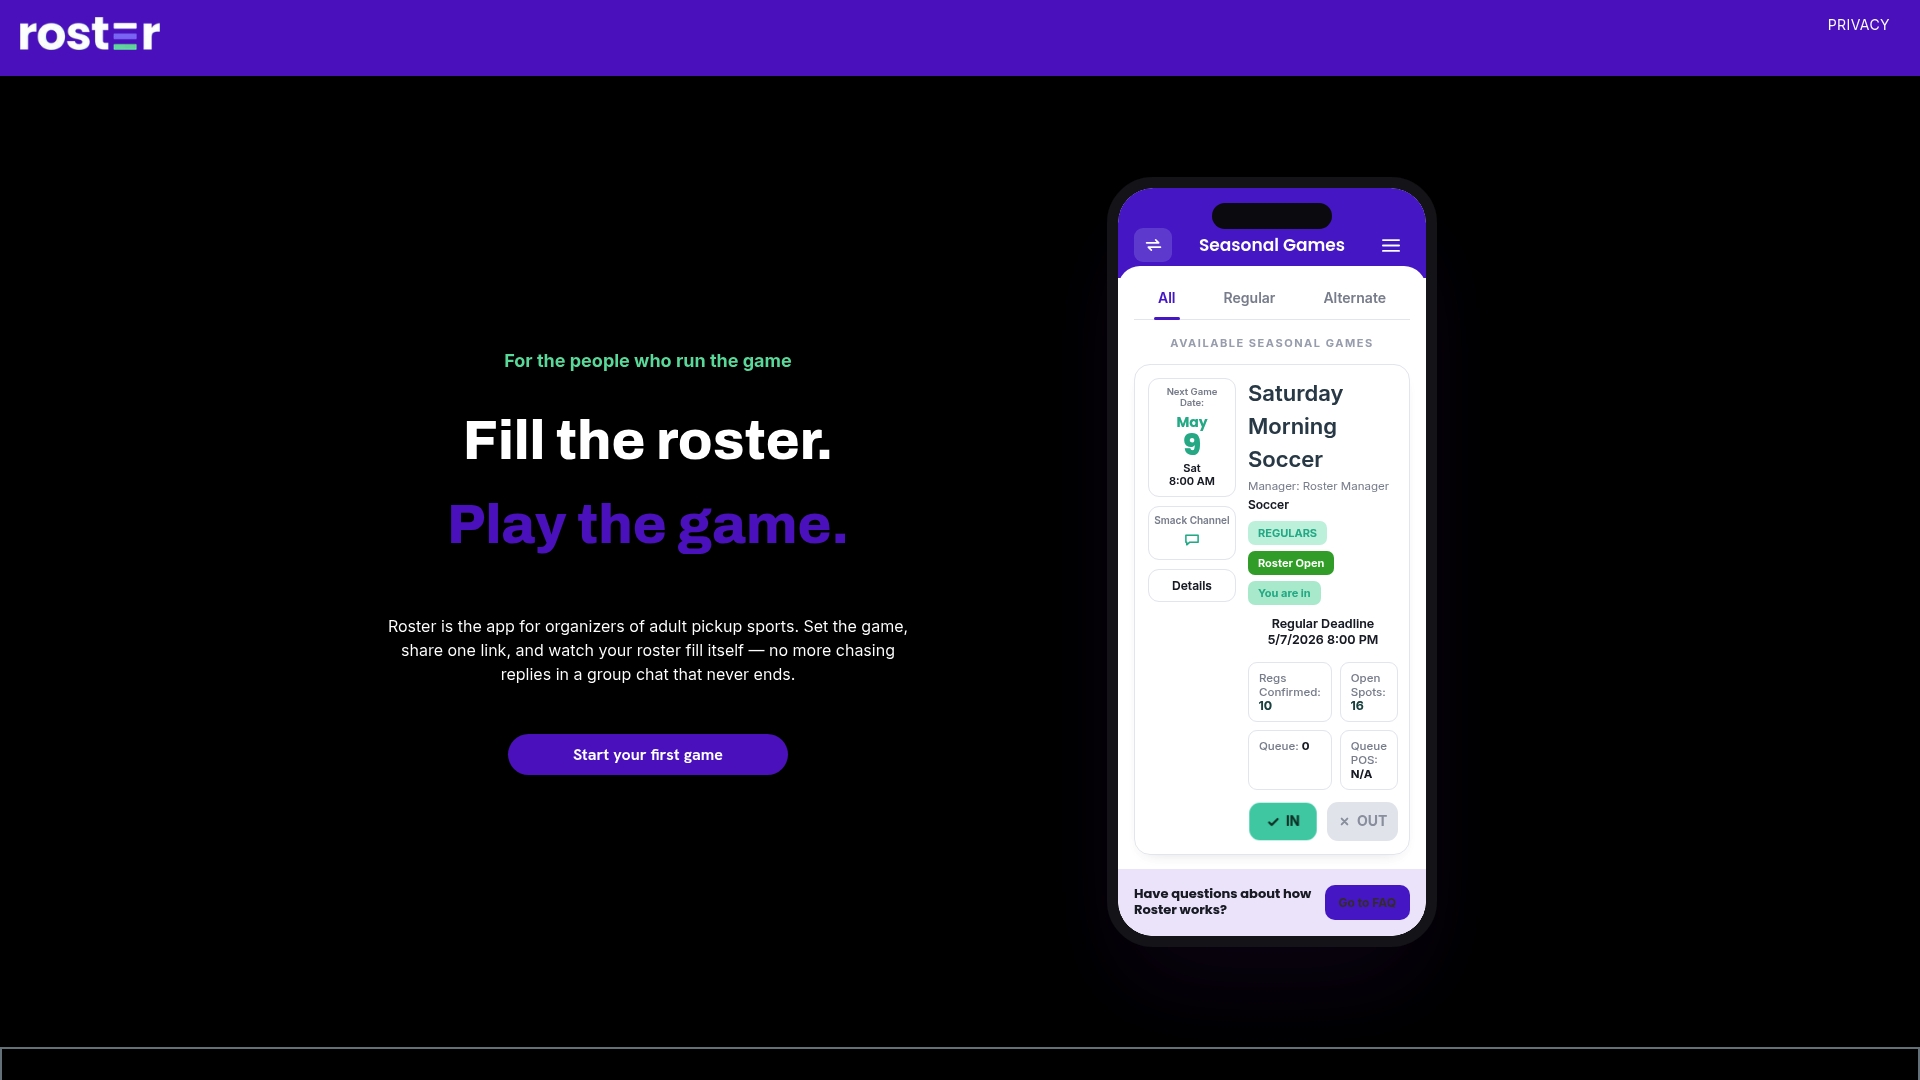
If you're spending your evenings approving, rejecting, and chasing down confirmations for a recurring pickup game, we built Roster to take that work off your plate. One shared signup link can replace the form-plus-spreadsheet combo, and some platforms fill open roster spots in real time while automatically managing a waitlist for dropouts.
Some apps handle the edge cases that usually eat organizer time: duplicate sign-up prevention and automatic retries when a confirmation message fails to deliver. Organizers still set the rules; the platform handles the execution. If manual review makes sense for a one-off event, keep doing it the way we've outlined above. For a recurring game, visit our app features page to see whether automated roster filling replaces your manual steps entirely.

FAQ
How do you say RSVP in English?
RSVP is commonly pronounced by spelling out each letter: "R, S, V, P." It stands for the French phrase 'répondez s'il vous plaît,' which means "please respond" and asks invitees to confirm whether they'll attend.
What is an RSVP code?
An RSVP code is a unique identifier, often a short alphanumeric string, that links a guest's response to their invitation record. Event organizers use it to confirm identity, prevent duplicate sign-ups, and match a response to the right registrant without requiring a full name match.
Where should RSVP information go on an invitation?
RSVP details typically appear near the bottom of an invitation, including the response deadline and how to reply (link, phone number, or card). For formal events, a deadline of about four weeks out is standard, while casual events often use a one to two week window.
How do I create a digital RSVP?
Build a short form with name, contact info, guest count, and any eligibility fields you need, then share one link instead of multiple channels. If you want manual control, enable an approval setting so registrations land in a pending queue before confirmation, similar to the approval workflow available in Microsoft Teams.
When should I keep RSVP approvals manual instead of automatic?
Keep approvals manual whenever attendee fit matters more than fast confirmation, such as member-only events, skill-tiered games, or strict capacity limits. For recurring, open-access events like weekly pickup games, automated filling and waitlist promotion usually save more time than manual review costs.
Sources
These sources back the definitions, workflow steps, and etiquette guidance used throughout this article:
- RSVP | English meaning - Cambridge Dictionary
- Manage webinar registration in Microsoft Teams | Microsoft Support
- What Does RSVP Mean? Definition, Etiquette, & How to Respond